Top 5

I decided to go back and pick my 5 favorite photos I’ve taken this year. I hope you guys enjoy.

These are my top 5. I love all of them because they all remind me of the good times I’ve had. Another reason I love them is because they each show case a different technique or skill. Anyways, I’ve had a good time with this. Stay safe everyone.

Black and White Portrait

The previous post was a non-portrait. This time I decided to show off my black and white portrait.

I really, really like the way this looks! Shout out to Carrin Nelson! Just like with my non-portrait I went into Photoshop and changed the colors. Below is the original photo.

Thanks for reading guys! Stay happy, stay safe!

Black and White Non-Portrait

Black and white pictures have a certain feelings of nostalgia. When someone looks at one they immediately think that it’s an old picture. So I decided to make my own. It may look old but I can assure you it was only taken a few months ago in California.

I simply went into Photoshop and changed the properties of the image and made it black and white. I think it turned out really good. It has an antique feel to it. Below is the original picture.

Thanks for reading guys! Stay happy, stay safe!

Landscape

One of the most popular forms of photography is landscape. I was planning on taking my own landscape photo, but with all that is going on right now I decided to review one of my favorite landscape photos.


This photo of the Grand Tetons was taken by Terragalleria. I love this photo for many reasons. I love the reflection of the mountain in the water. There’s also some great color contrast. As your eye moves from the top of the image to bottom the colors get darker, which makes the mountain even more eye catching. What do you guys like about this image? Thanks for reading guys! Stay happy, stay safe!

Advanced Photo Editing

Photoshop offers a lot of rather complicated options and tools to use. When you know how to use these tools and options you can create some cool effects and images.

This photo was created with masks, and blending tools. I used the pictures below to create this.

This next photos was made using the curves menu. All I did was mess with the levels until it gave it a cool kinda retro effect.

This next photo is the original.


Photo Contest Entry

I recently entered into Utah Life Magazine’s photo contest. I submitted the image below.

I took this photo during one of my first macro photo shoots. Which was why I was so surprised at how well it came out! I used macro tubes on my camera and put some water droplets on a CD and shined a light on it. I think the result speaks for itself.

I chose Utah Life Magazine’s photo contest. This is a contest where photographers of all skill levels can enter for a chance to see their work be published in Utah Life Magazine and a cash prize. I chose this contest because it seemed like a good one to choose if you want your work to be put out there for more people to see it.

Here’s a link to the web page: https://utahlifemag.com/photo-contest/

I submitted my entry on March 18, 2020.


Macro Photography

Google defines macro photography as “photography producing photographs of small items larger than life size.” That basically sums it up. There are many ways to produce great macro photos, for these photos I used macro tubes. Here are my favorite photos from this photo shoot.

Water Drops

Without Water Drops

I think they turned out really cool and unique. My personal favorite is the top photo of a water drop on a CD. Anyway, I had fun and I hope you guys liked the photos.

Photoshop

Photoshop is a very useful tool for a photographer. It allows the photographer to add things that the camera cannot. Be it filters, brushes, masks, etc. Photoshop can do it. The photo below is an example of using Photoshop to add more to the image.

I used a custom brush and layer masks to give the effect of disintegration. Gives me flashbacks to Infinity War 🙂

Levitation and Masks

Masks in Photoshop are very useful. They can help you do things like this and give the cool effects of levitation and what not. The first picture is the finished product and the other 2 are the photos I used to create the final image.

Levitate

These next 2 are the photos I used to make this.

IMG_2885IMG_2886

The process was really quite simple. I utilized the layer masks and easily removed the stool from under my subject to give the effect of levitation. I think it turned out pretty cool and I hope you guys liked it too.

Camera Settings

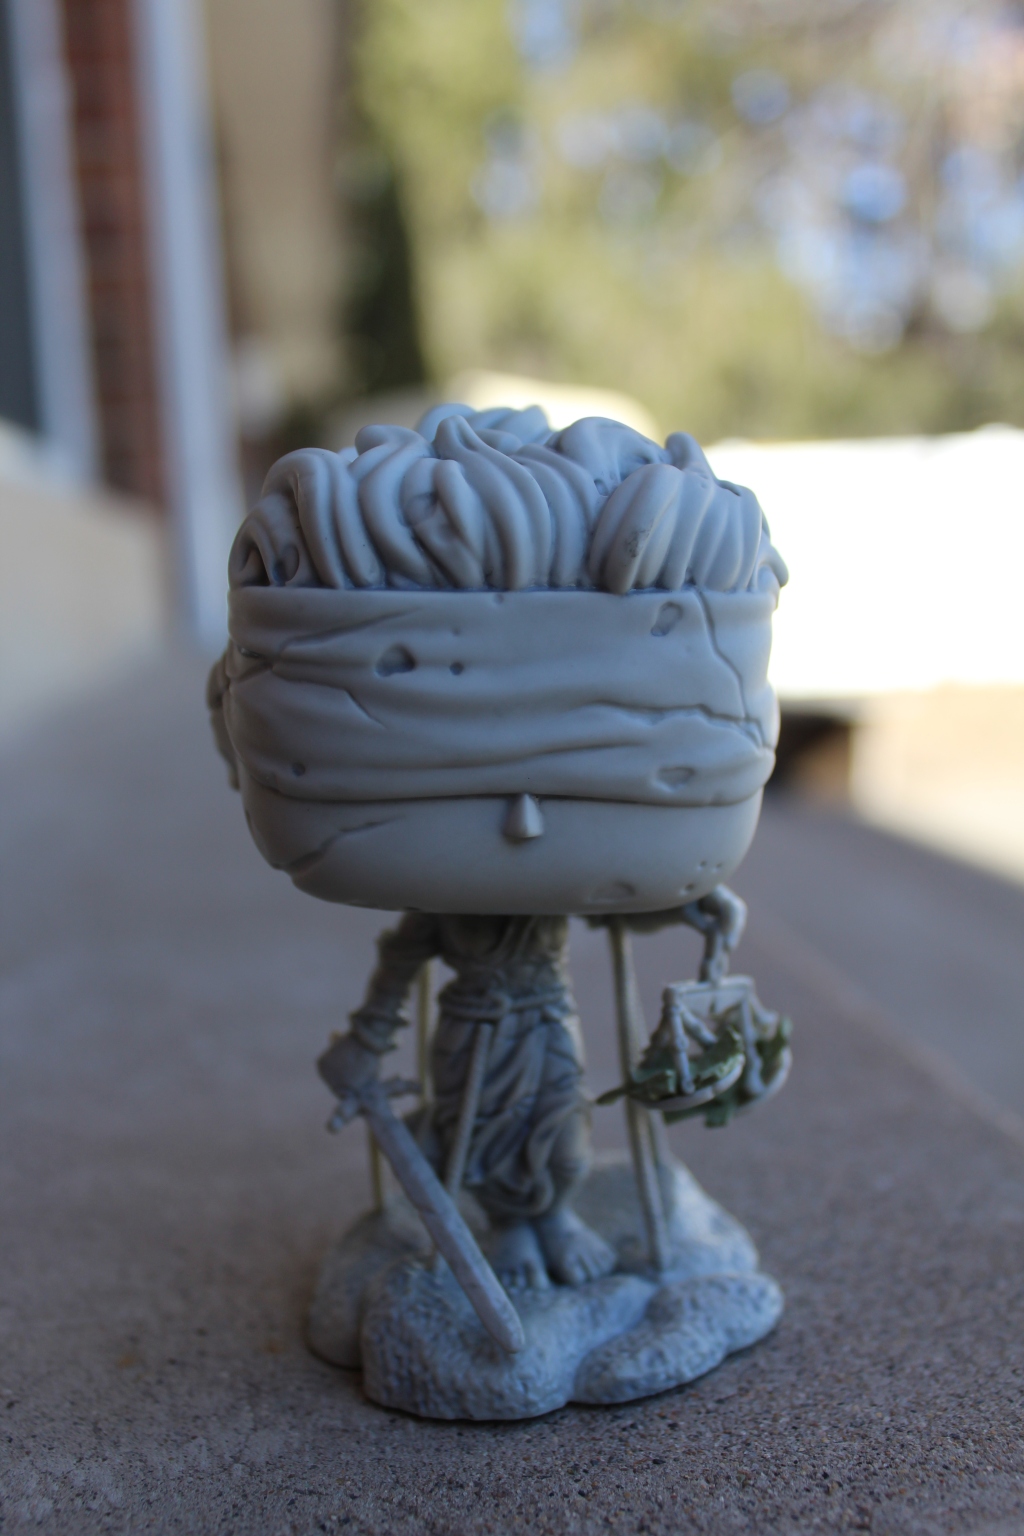
There are three “priority modes” on most cameras, Shutter Priority, Aperture Priority, and Manual.

Shutter Priority

In this mode you set the shutter speed and the camera takes care of the rest (ISO and Aperture). This is particularly helpful for blurring and freezing motion. The picture below was taken with Shutter Priority Mode.
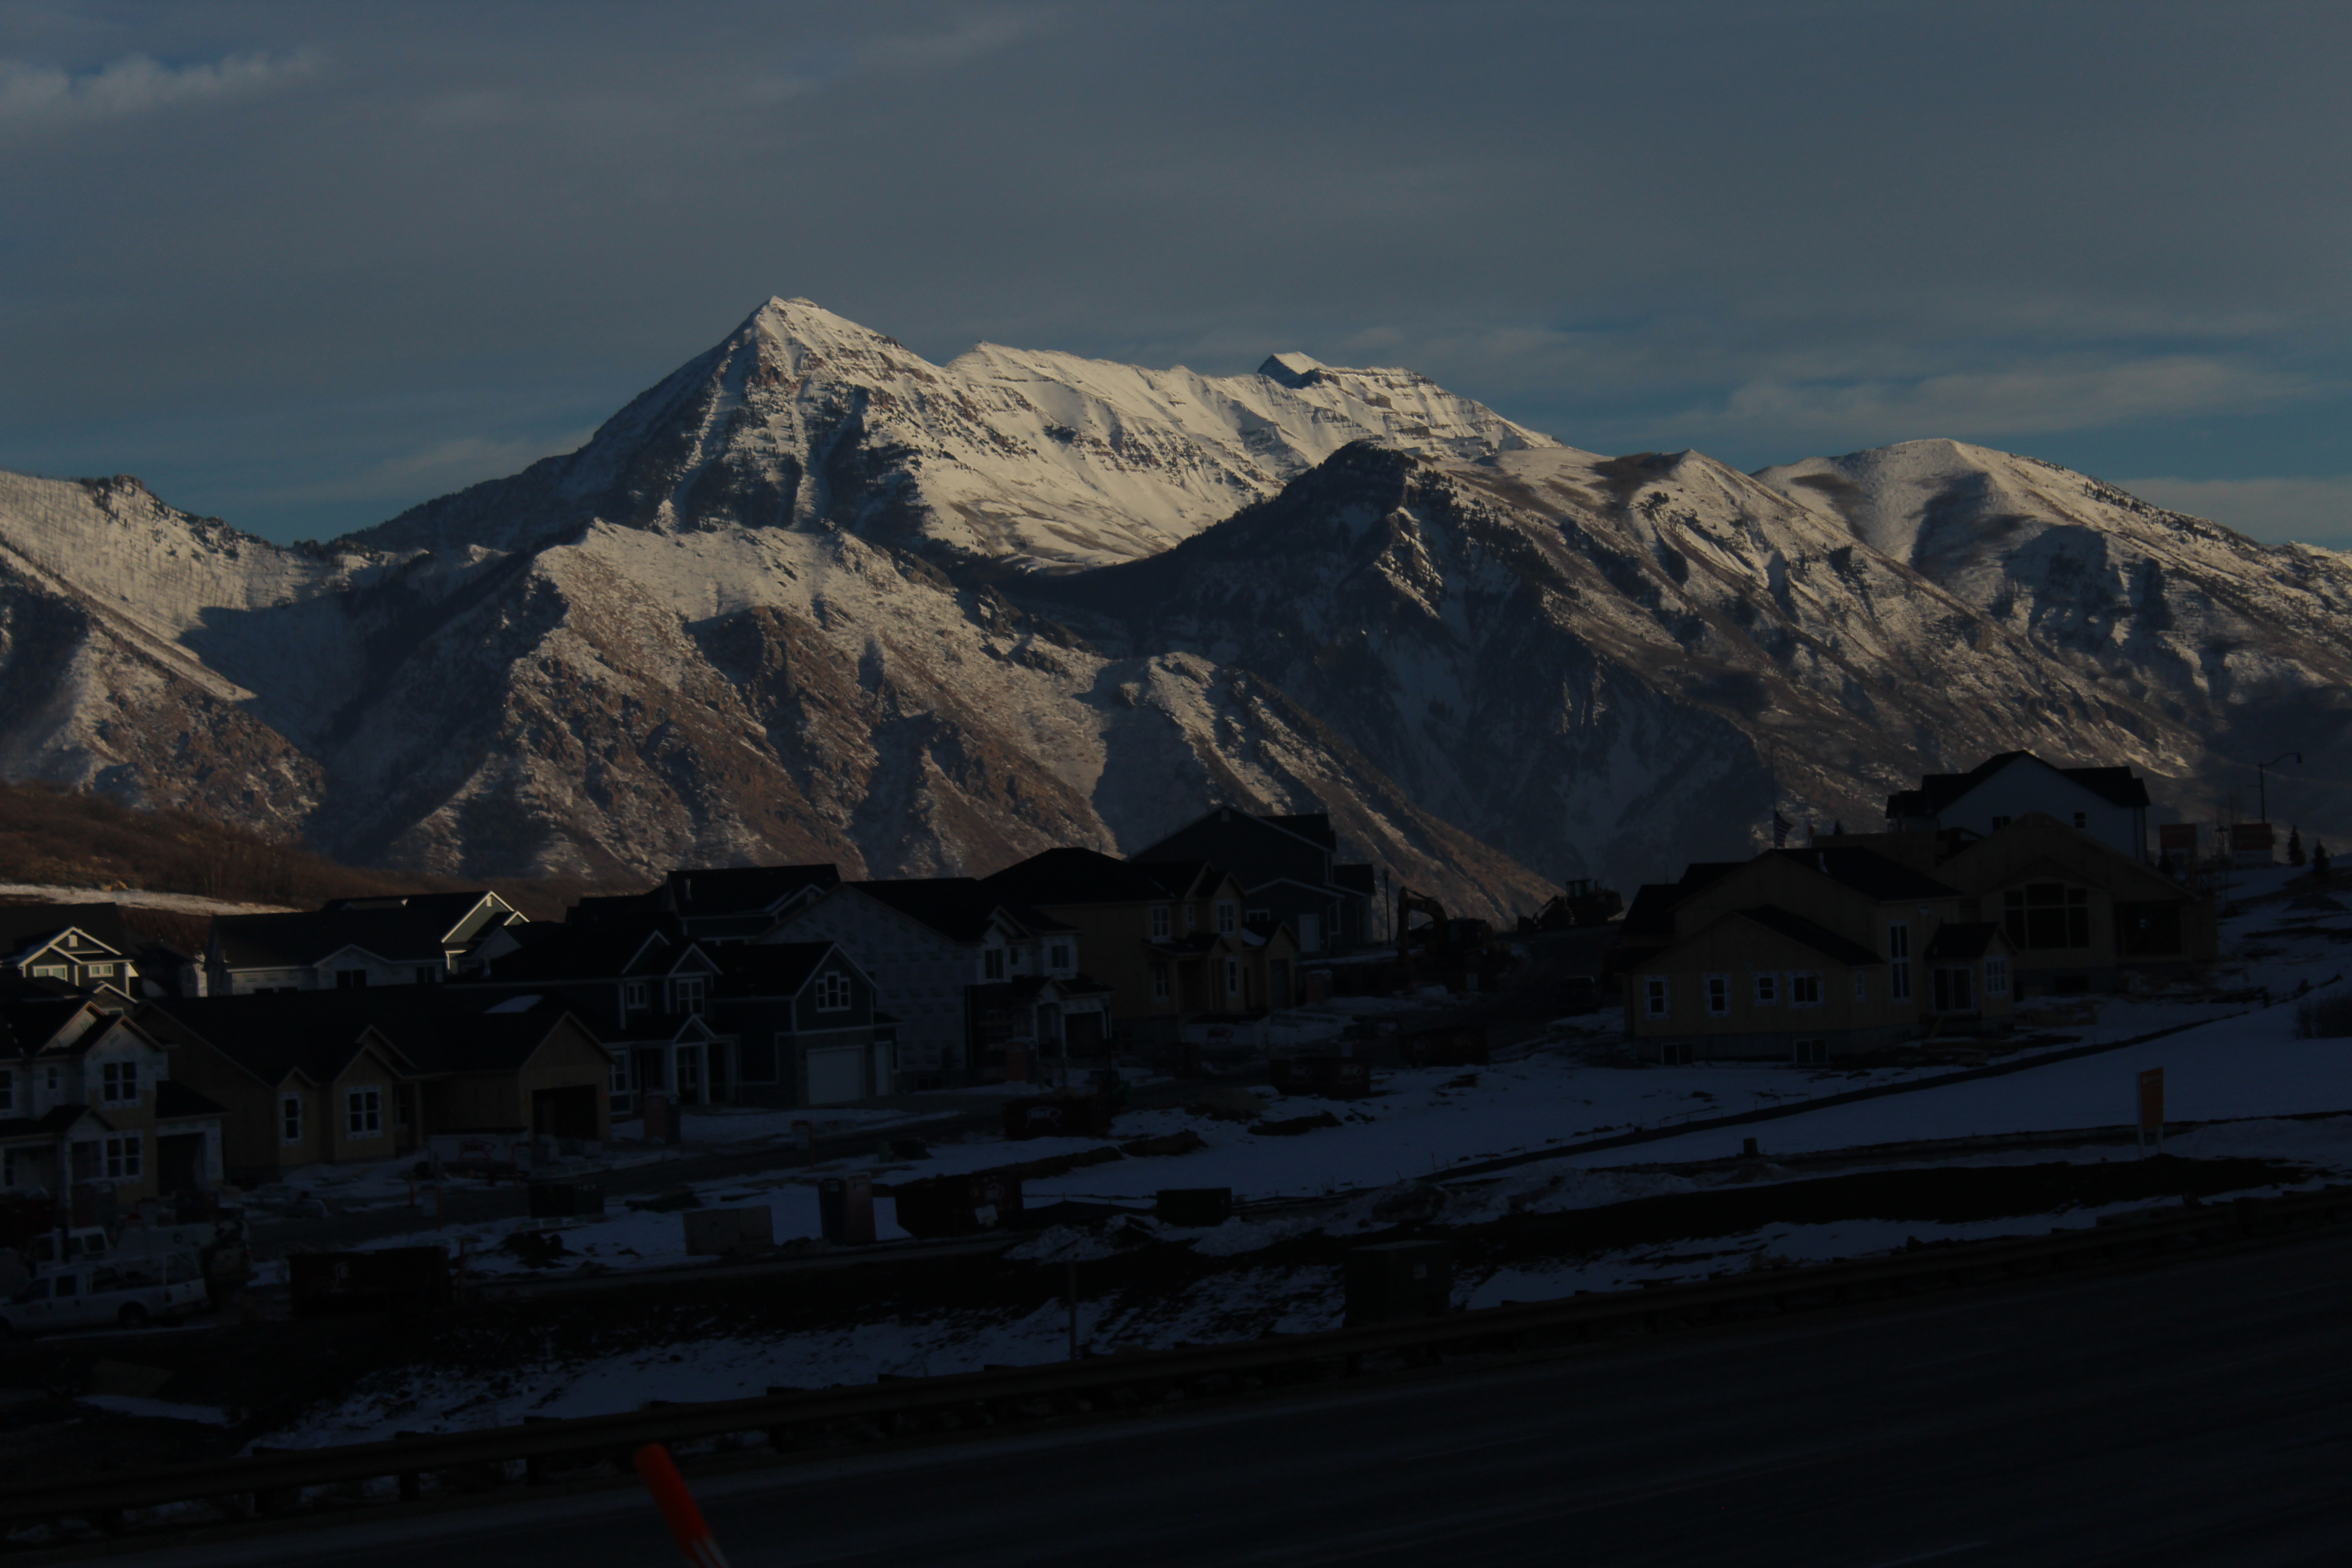
Aperture Priority

Similar to Shutter Priority, this mode allows you to set the aperture of your choice and the camera picks the apporpriate Shutter Speed and ISO. This mode works well when shooting wide and shallow depths of field. The below pictures were taken with Aperture Priority Mode.
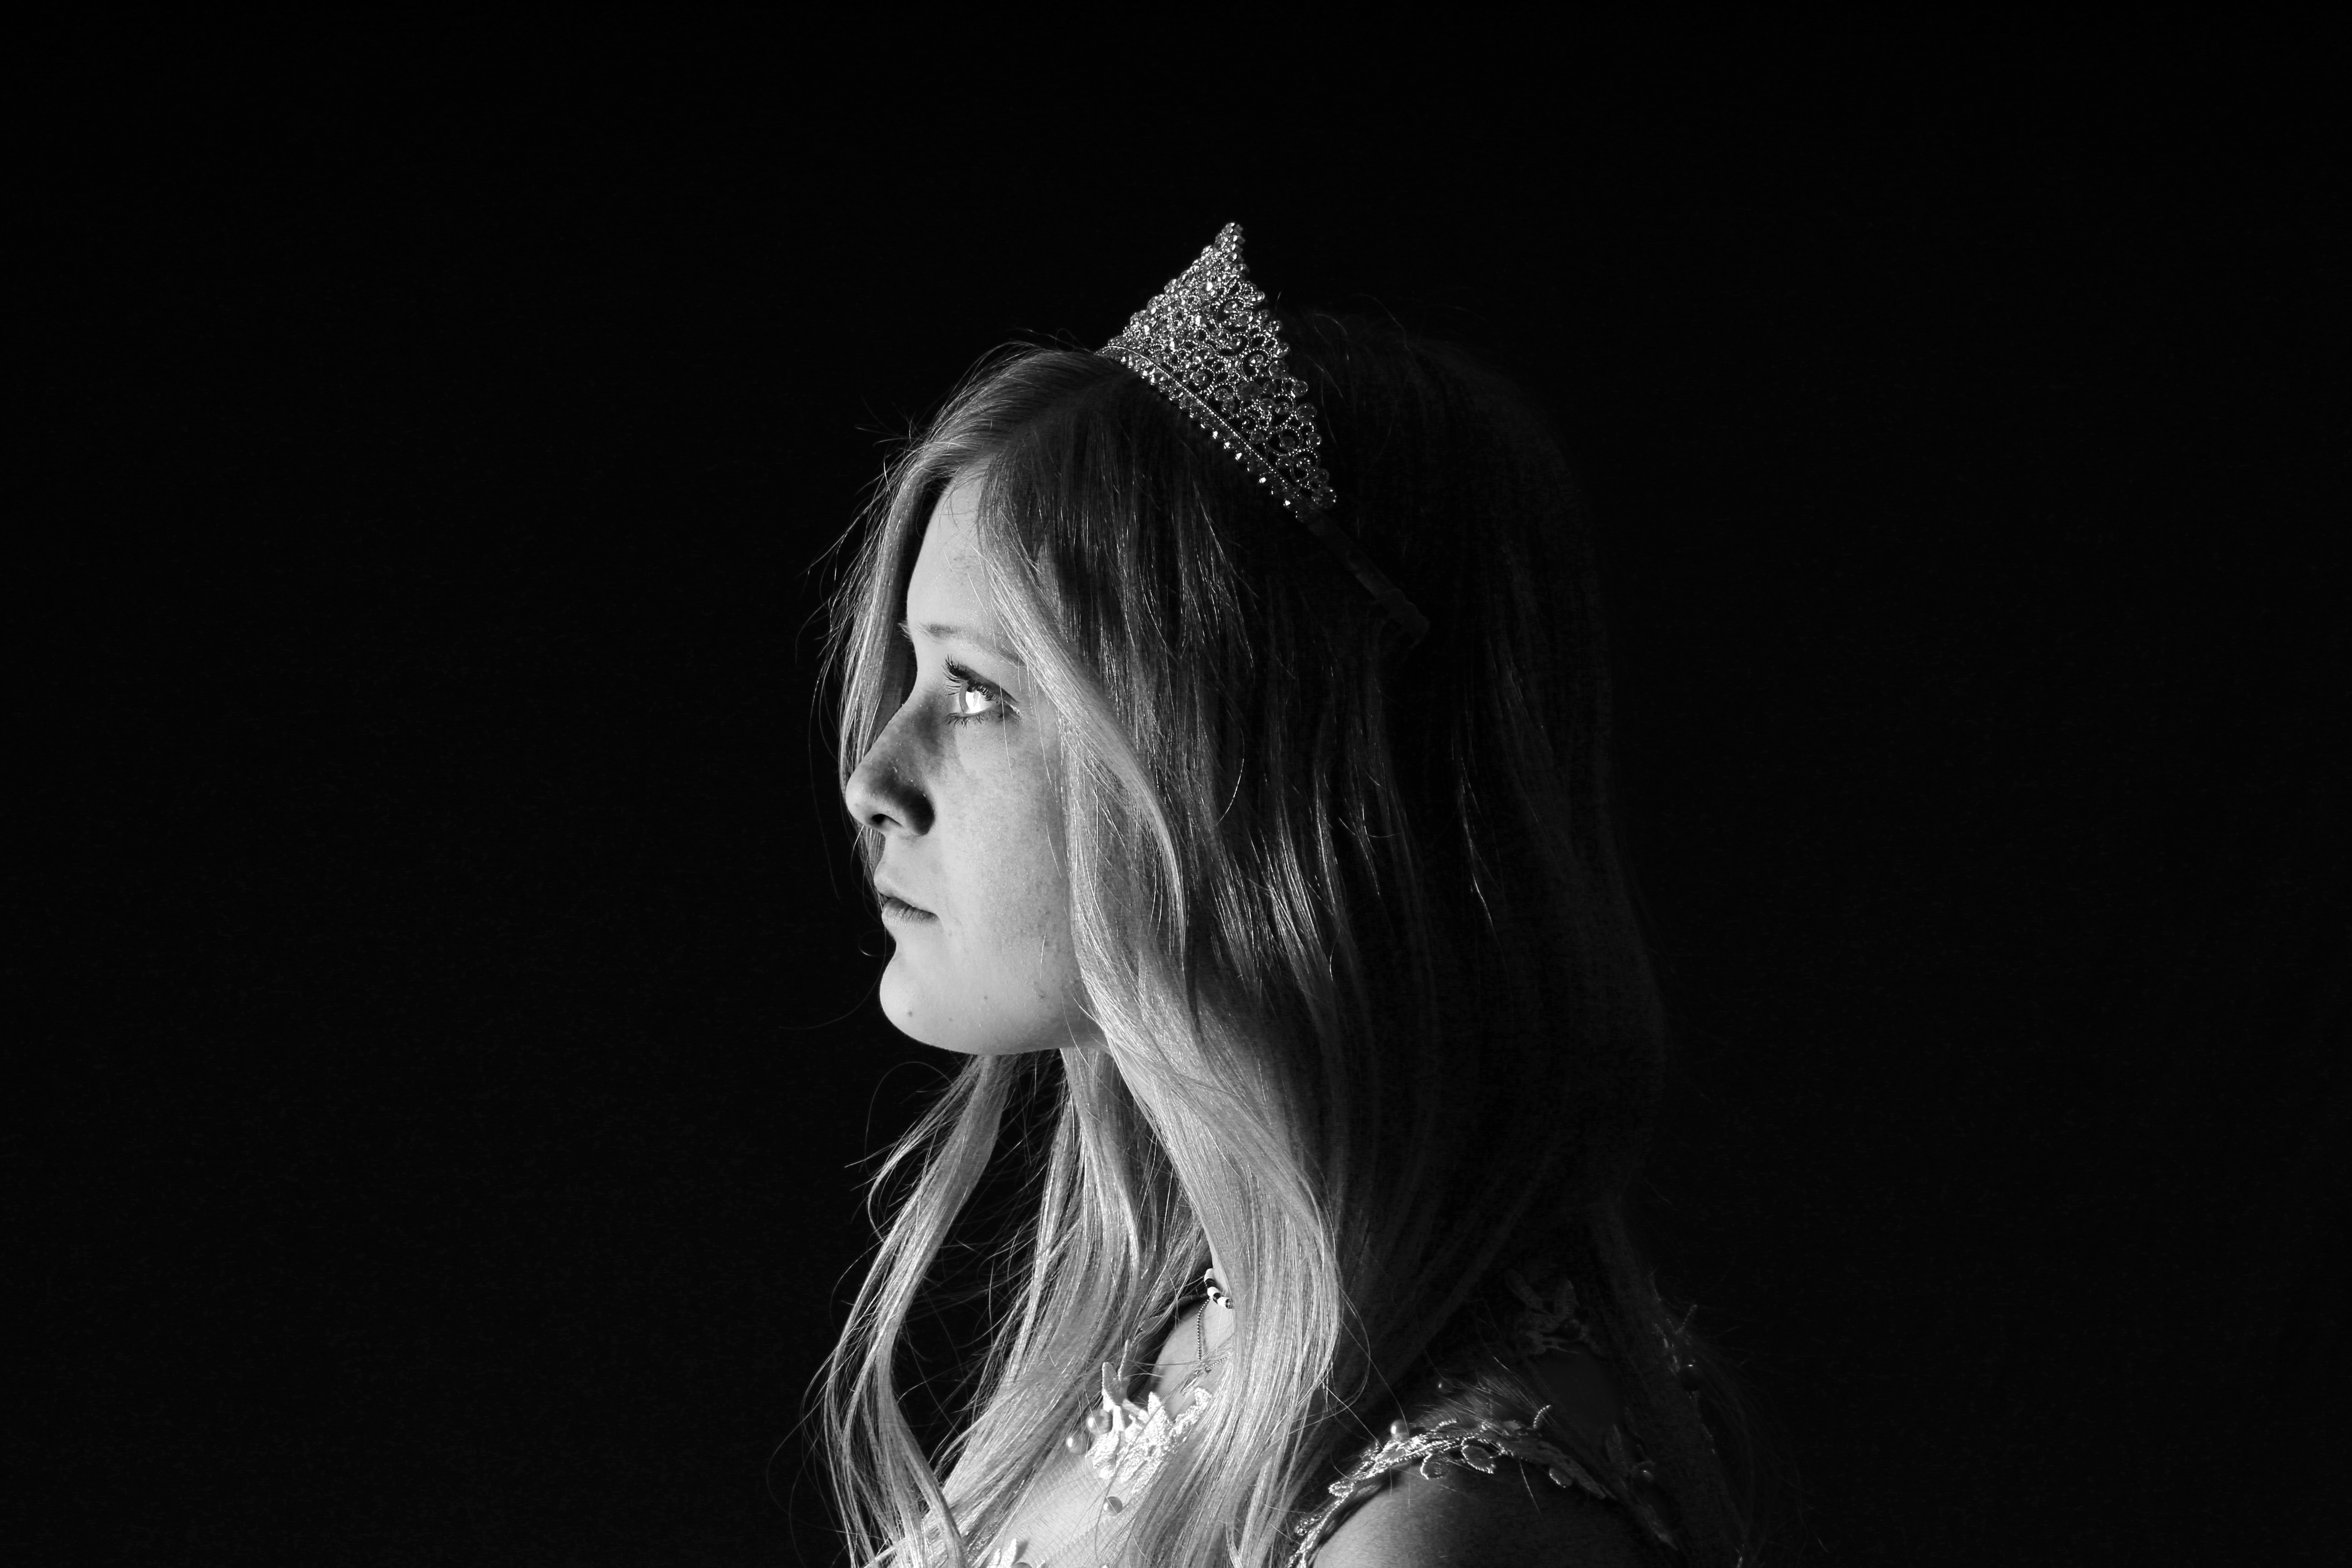
Manual Mode

This is the mode where your picture is truly in your hands. You choose your ISO, Shutter Speed and Aperture. You get to compose your image as you choose. The below picture was taken with Manual Mode.